Coloring Tutorial
Coloring Tutorial
By: Koeki
By: Koeki
Foreword
I do not suggest filling in Bases with MSPaint. There are Free options for PC, Mac, and Linux that have layers and are much better for this task. GIMP, for example, is available for most operating systems. As such, I will not be covering how to do this in MSPaint. This tutorial compliments the artist's tutorial
Preparation
This is meant to be a tutorial on how to color Painties via a program that has layers. Those who do not have a program like this can find a few websites that offer the same options. Any of the following programs will work the same way with this tutorial. I also suggest, if it's available, using a drawing tablet, but that is by no means required.
GIMP (Free Program)
FireAlpaca (Free Program)
Photoshop (costs money)
Paint Tools Sai (costs money)
or
Pixlr (A browser based editor, similar to the others.)
Once You've decided which base you want to use, you can download it from a few places, such as the FurAffinity website, or a Dropbox which has the bases done in a .PSD format (https://www.dropbox.com/sh/dt4md8dvjhwoy52/AADtn7dyWGg1sgJjpOY9GDDDa?dl=0)
If you are using a PSD file, you will need to combine the group that contains the main layers, and delete the BOTTOM TWO, as they won't be needed
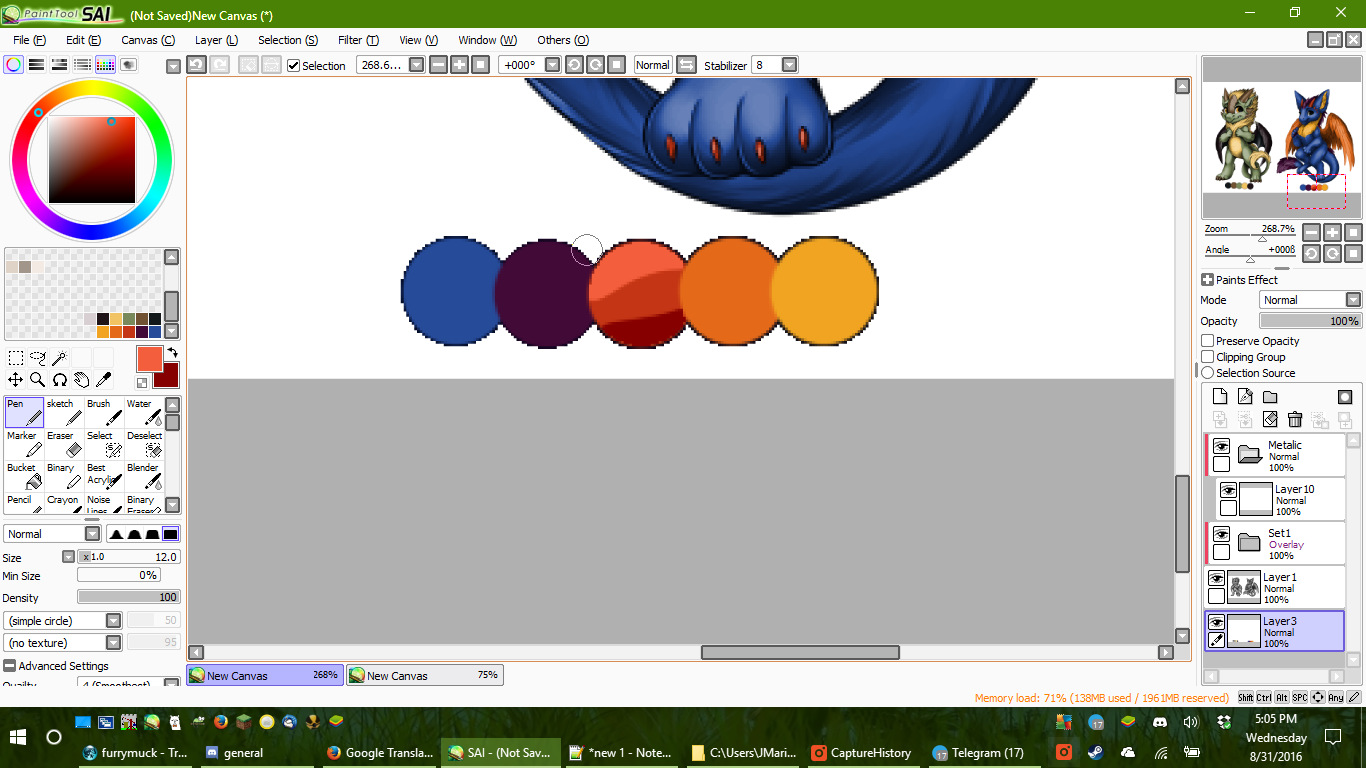
Choose your palette. I find it handy to keep this on a separate layer, but visible at all times away from the base, so that I can pick up the colors as I need them. You can find free palettes by searching sites such as Google.com or Deviantart.com
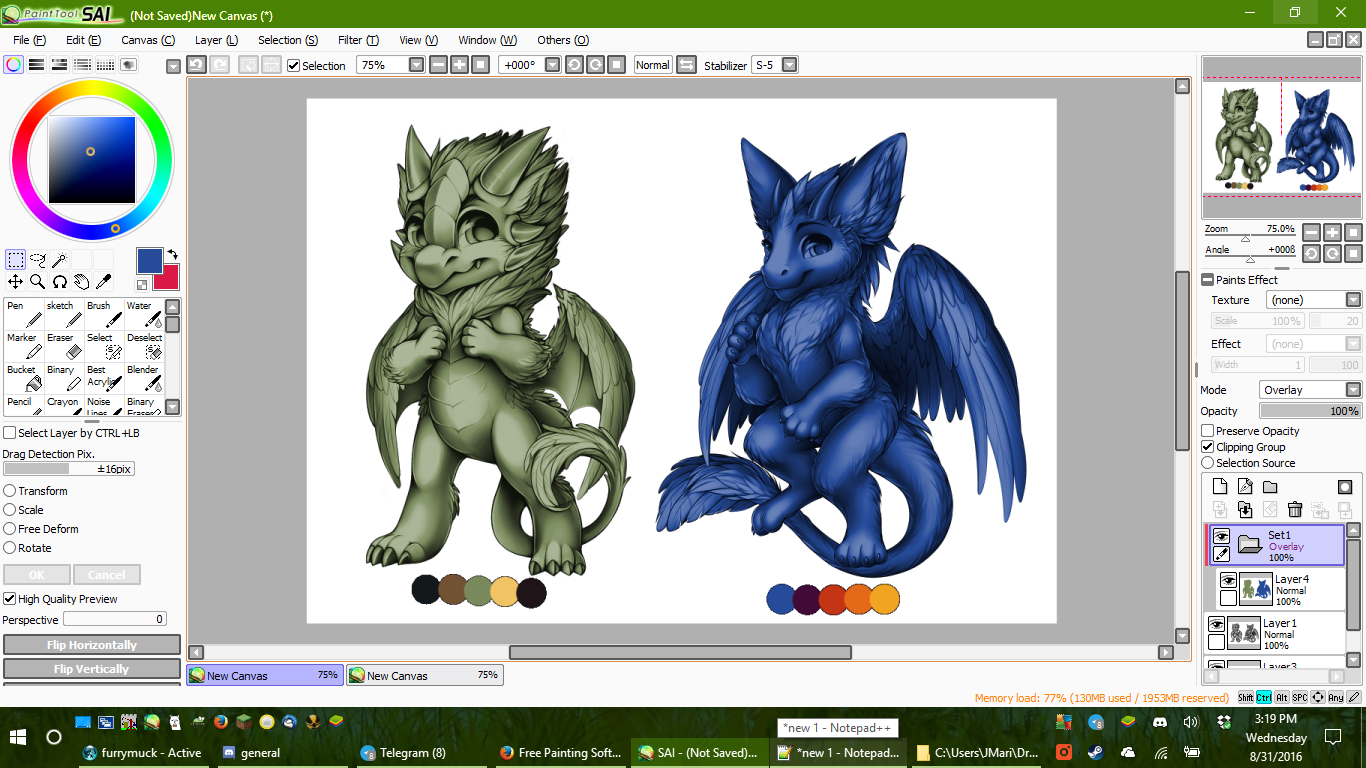
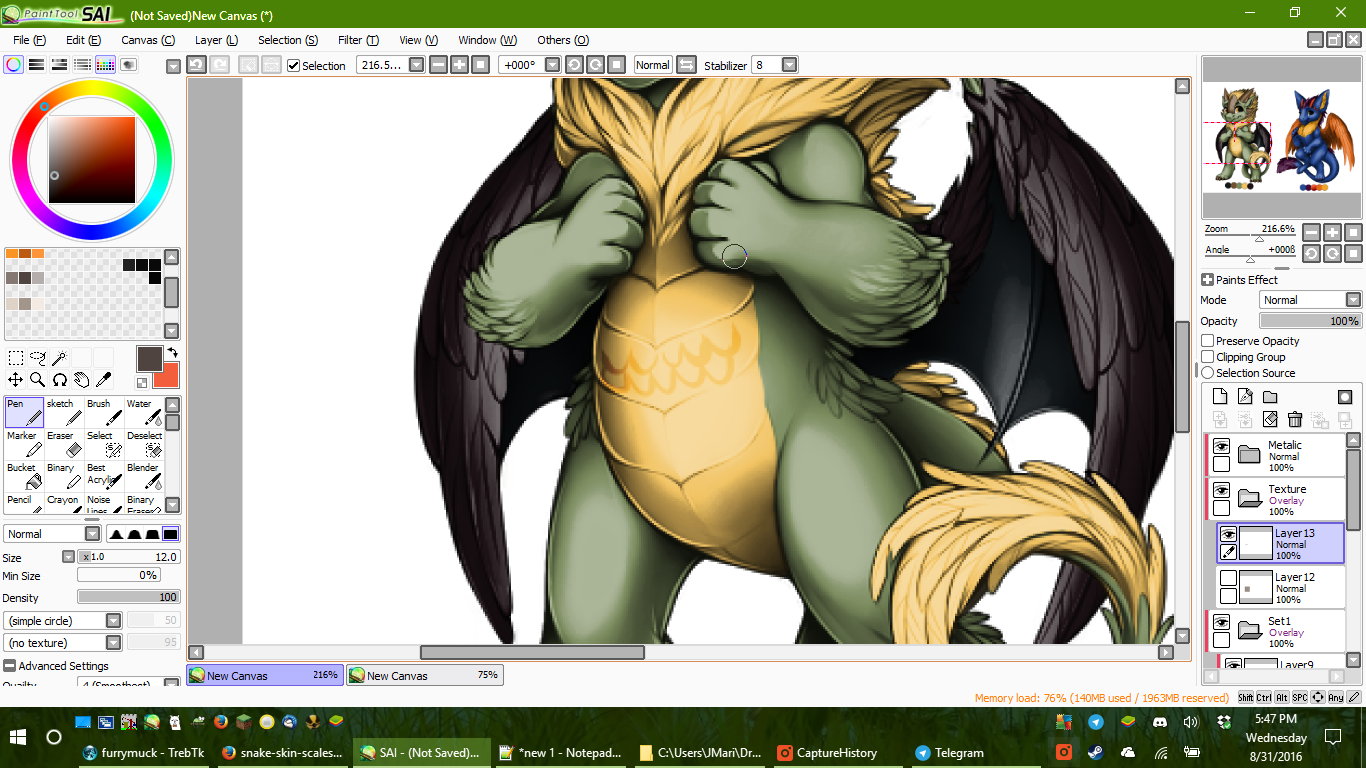
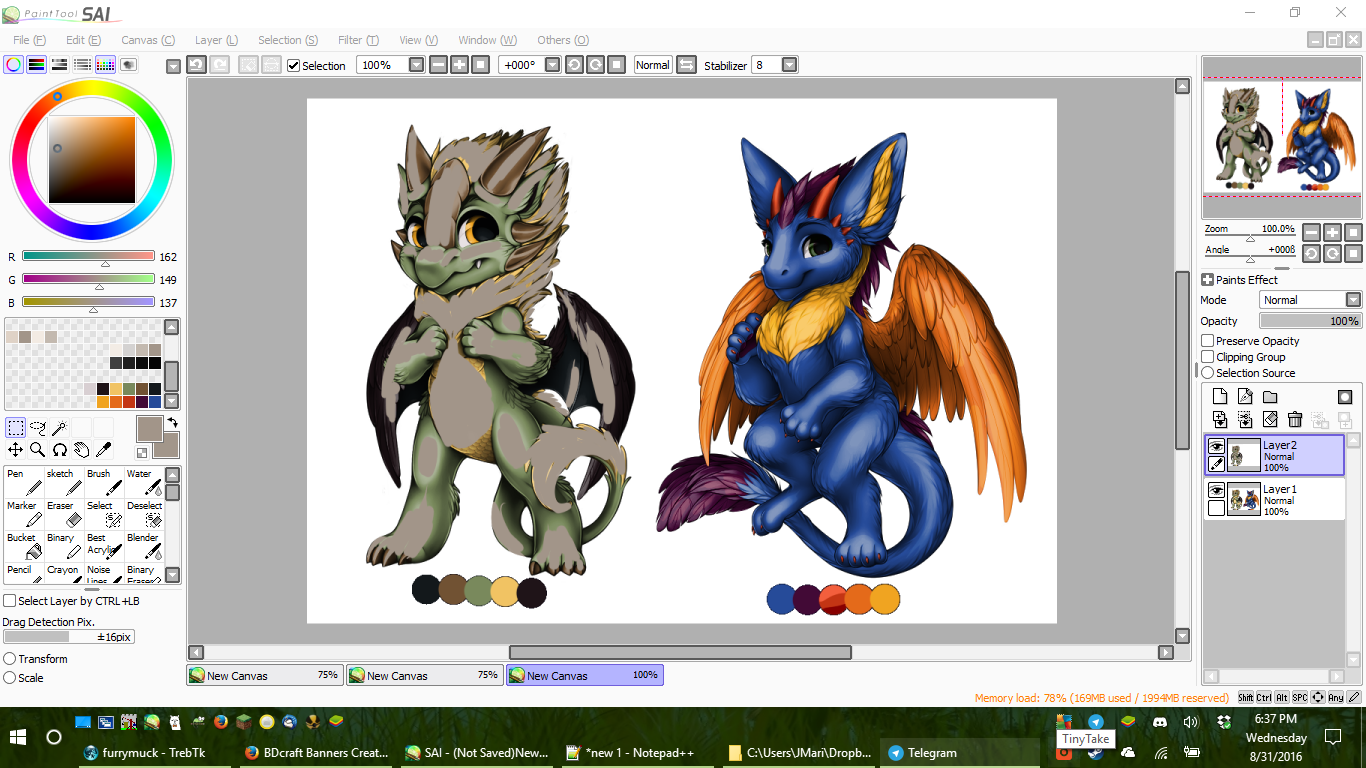
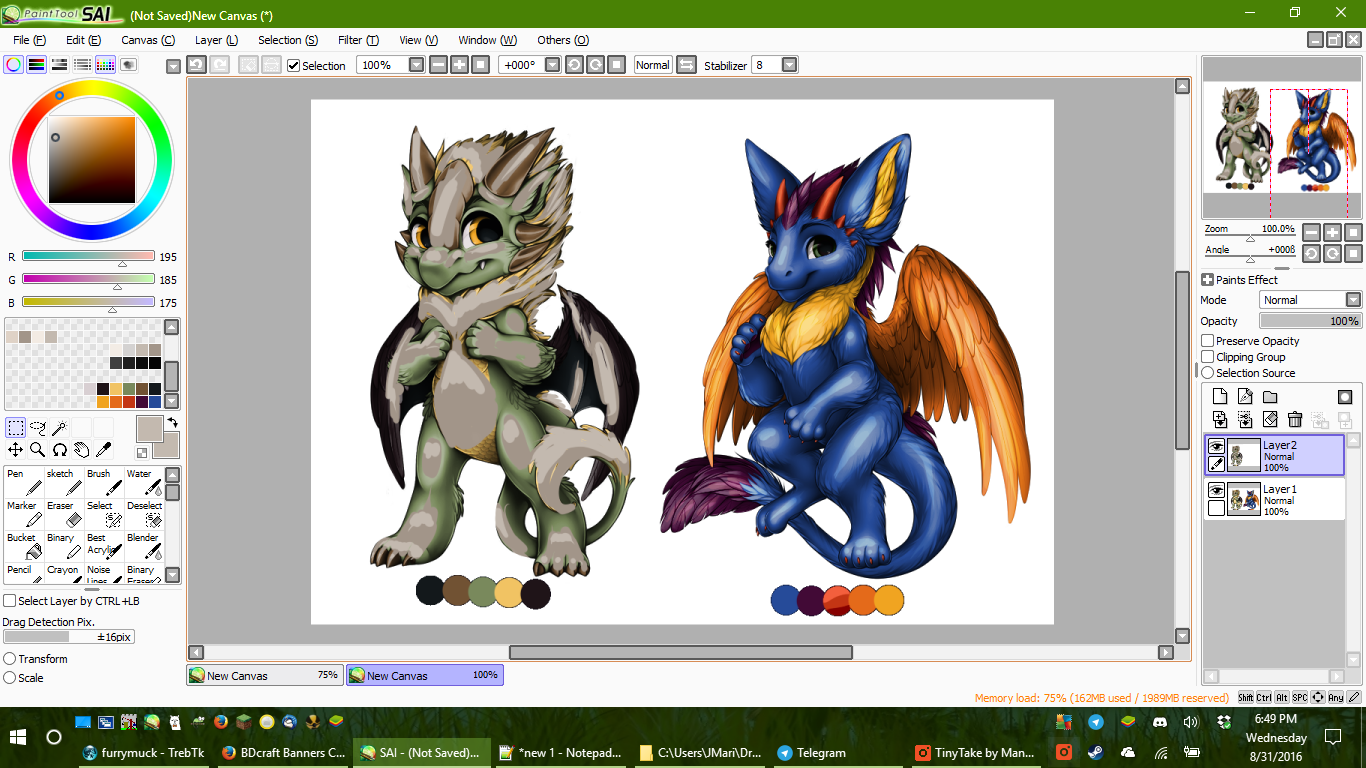
I'm going to do two different bases at the same time, to show that the style works, no matter what the color is.
Coloring
Step 1
After you have your base and palette chosen, create a new folder, above the base. You'll want to set this as 'Clipping', and as 'Overlay', so that the lines show thru, and that there are no stray marks outside of them. Select the white areas in the base layer, and, on a new layer in the folder, fill the colors layer with your first, main color. The ways to do this vary depending upon the program, however many have a Magic wand tool to allow to you select the area, and a fill option under the Edit or Select menus.
Step 2
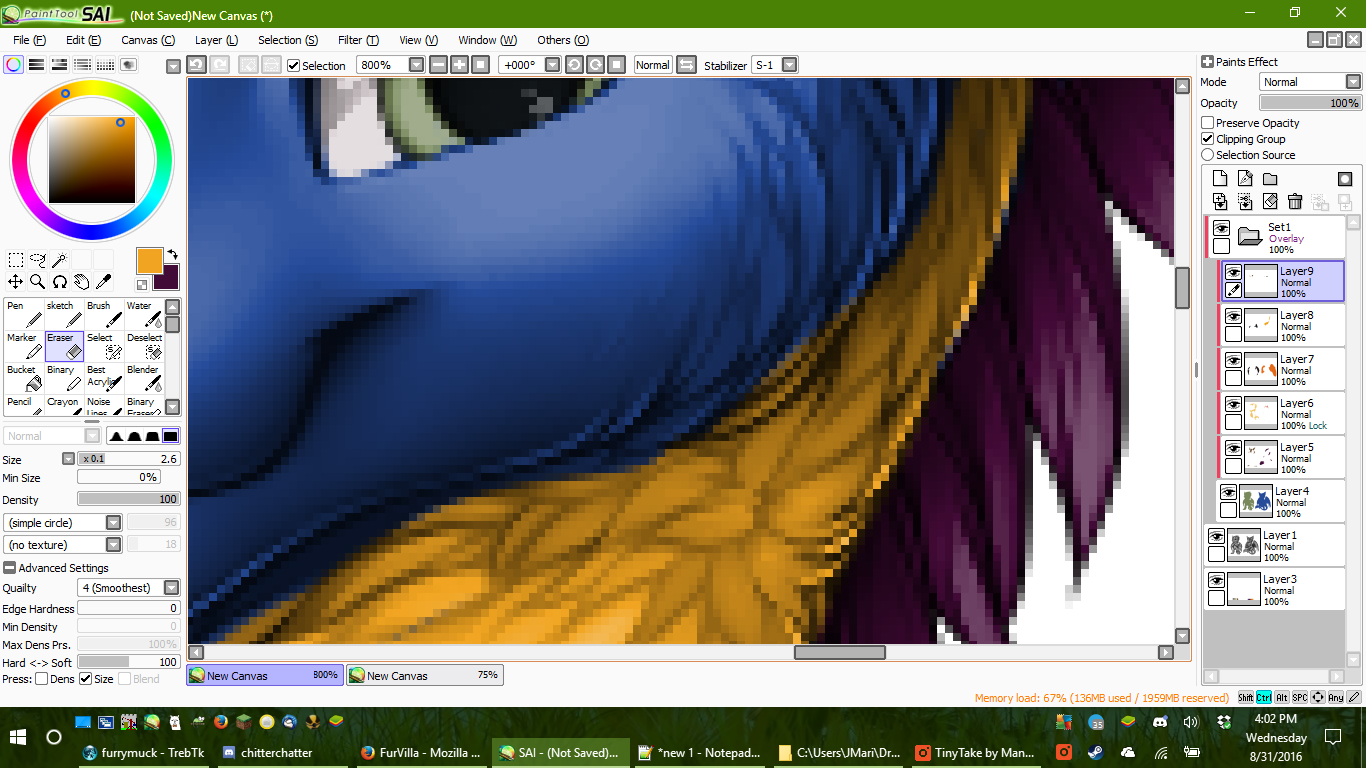
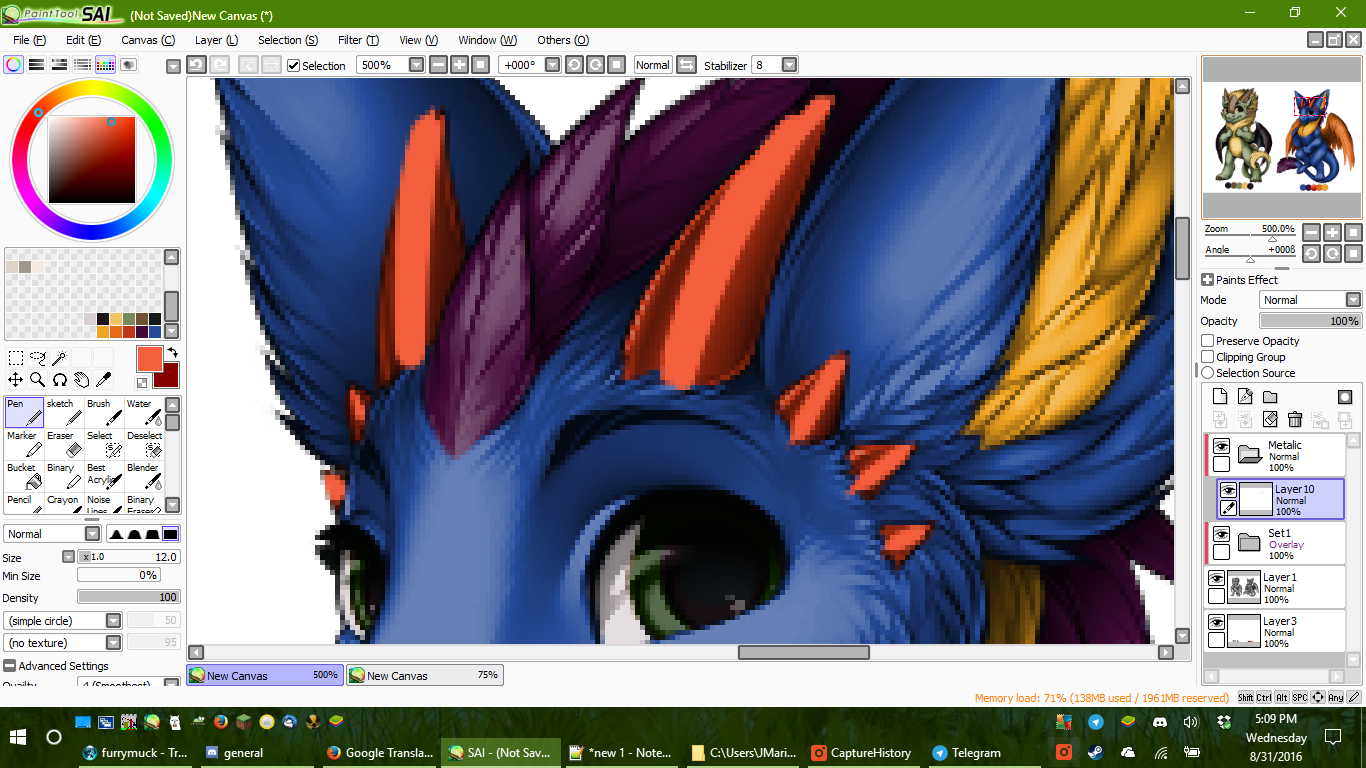
On a new layer, set to clipping itself, being adding the markings to your character. Each new color should be on a new layer, each layer set to clipping. At this point, you don't have to be very neat. You can always clean it up after the markings are in place.

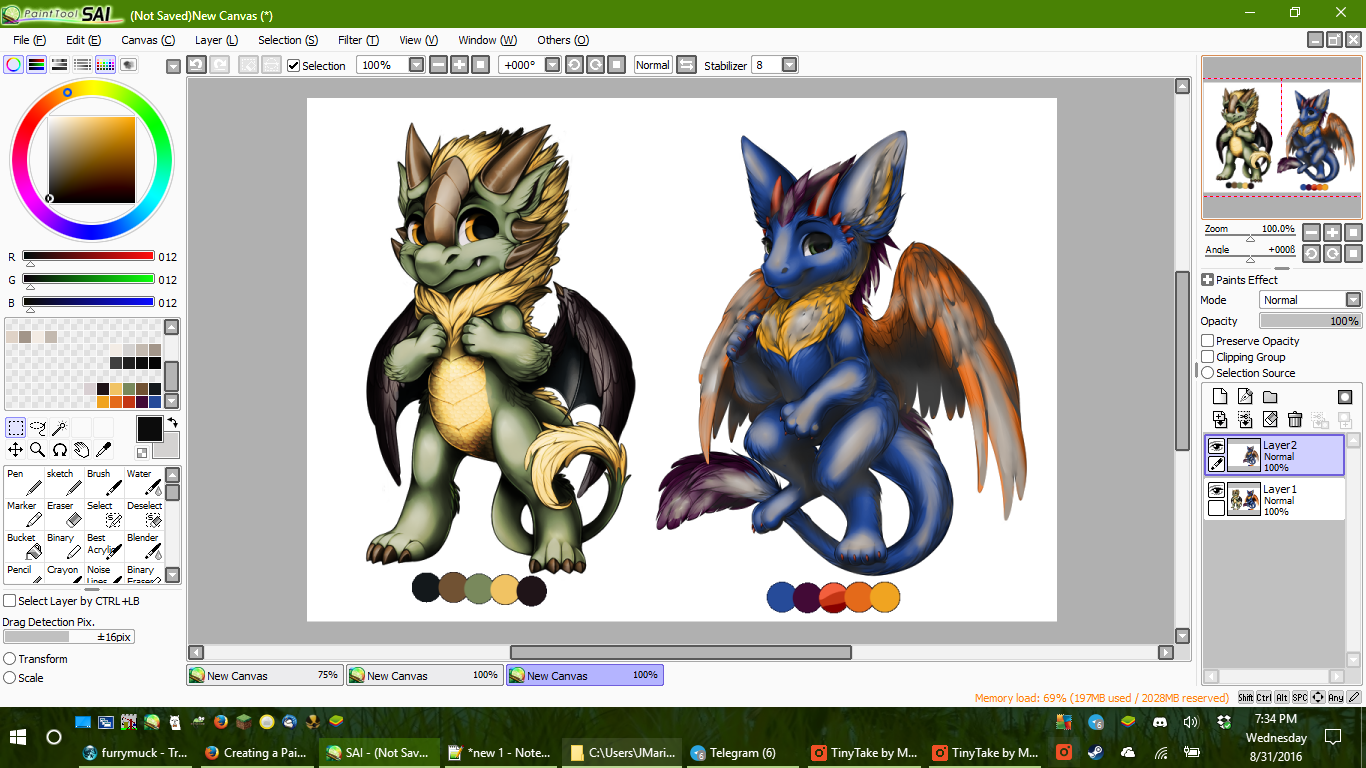
Step 3
When all of your markings are in place, zoom in an clean them up, so they are crisp and stay in the lines. When you are finished, you can combine the color layers if you wish.
When the flat coloring is done you may want to add shading, highlighting, or metallic sheen. This part is completely optional. I'll cover each of these, as well as a basic texture.
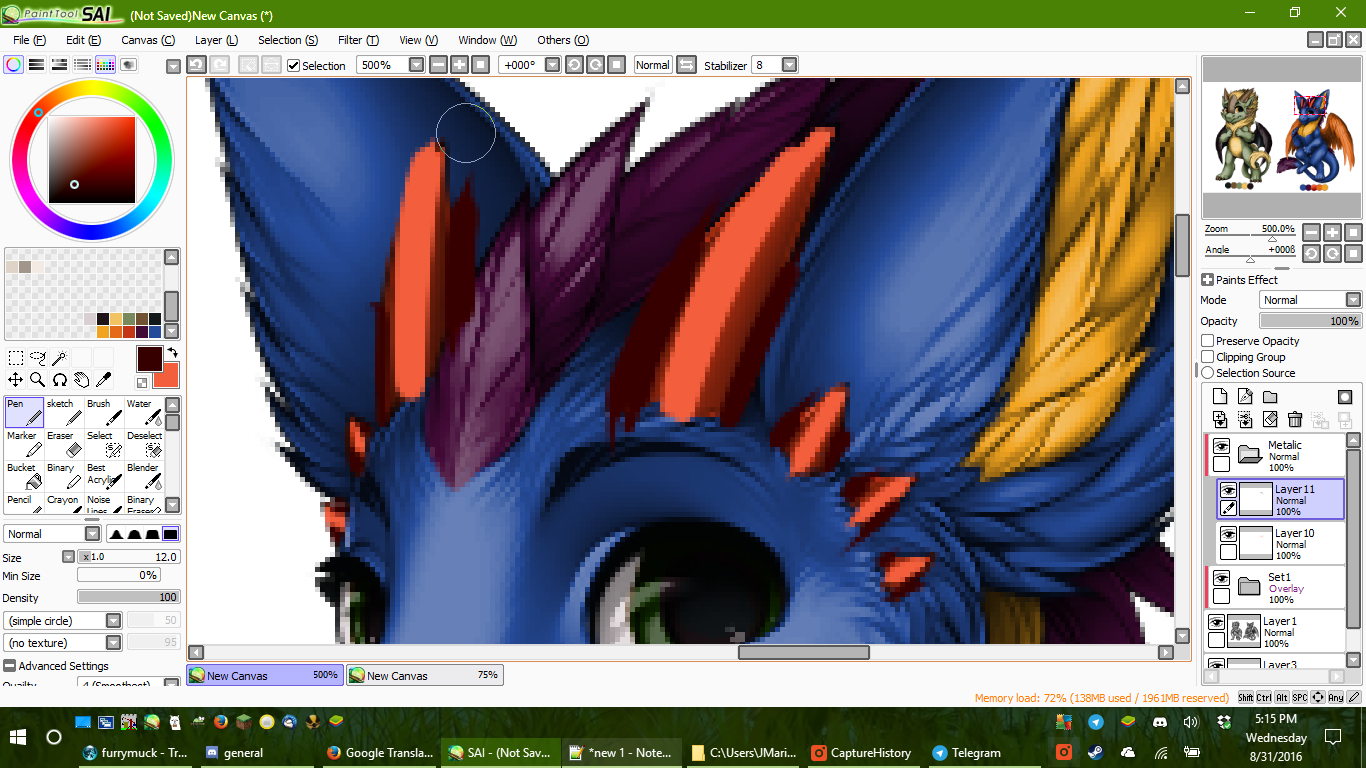
Metallic Sheen
Most metals have extremes when it comes to colors; a very dark shadow, and very bright highlight area. I'm going to make the Horns on the Angel Dragon metallic to give you an idea of how to do it.
Step 1
Select the main color, and - using the color wheel or sliders, find a color you like on either side of the spectrum; brighter and darker. Feel free to add this to your palette. Create a new group (set to clipping) and a layer within it.
Step 2
We'll start with the bright areas first.
The bases come with shading already, so - following those - use the bright color on the areas where light would shine. Don't worry about it being neat. In fact, sometimes it looks better if it's a little messy.
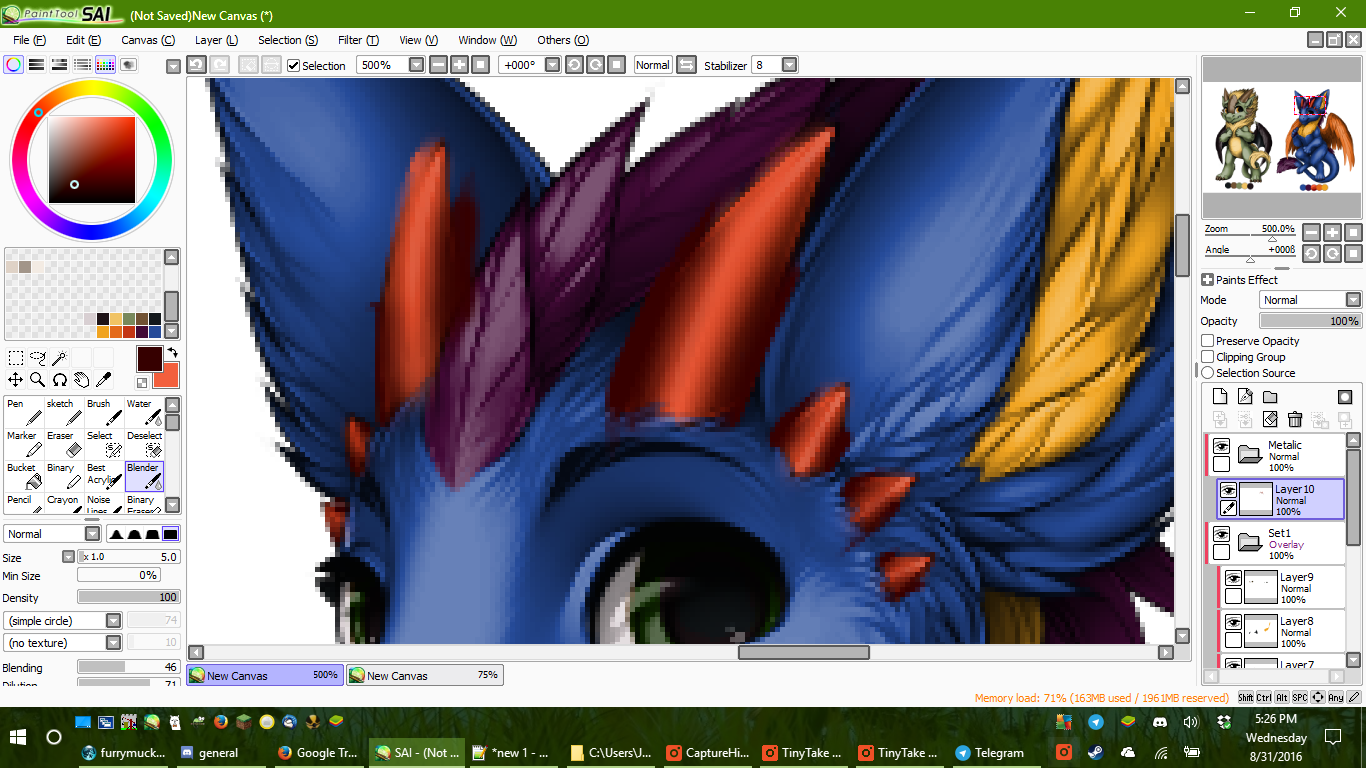
Step 3
Add a new layer to your Metallic folder, and do the same thing with the Dark areas, adding shading to the shadows. If the colors don't look right, change them now until you like how it looks.
Step 4
Using the built-in blending tool (depending upon the program, it might be called various things), blur the edges of both the highlight and the shadow.
If there is no blending tool, look and see if there is a function called 'Gaussian Blur'. This will do the same thing.
When each layer is blended, merge them and run the blender over the combined colors, to make sure they are smoothly blended.
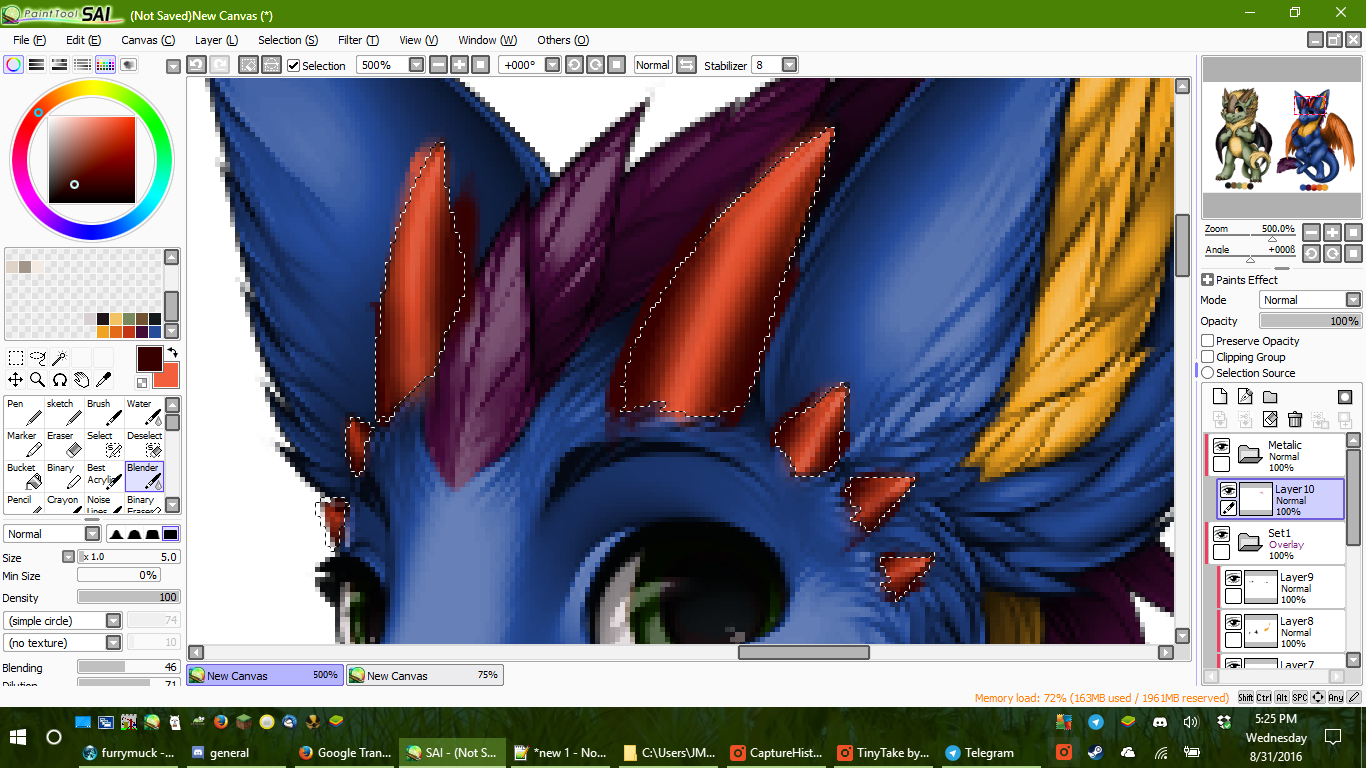
Step 5
When all is blended, go back to your color layer and select the base color of the area you are making metallic by using the magic wand tool.
Using the menu-bar, go to Select > Invert to change the selection to the area around the base coloring.
Select the Metallic layer and go to Edit > cut to remove any excess colors that there is.
That's it!
Simple Textures
Textures can make a coloring job pop, and it's really easy to do!
Step 1
Create a new group (set to clipping) and a layer within it. Set the folder to Overlay.
Step 2
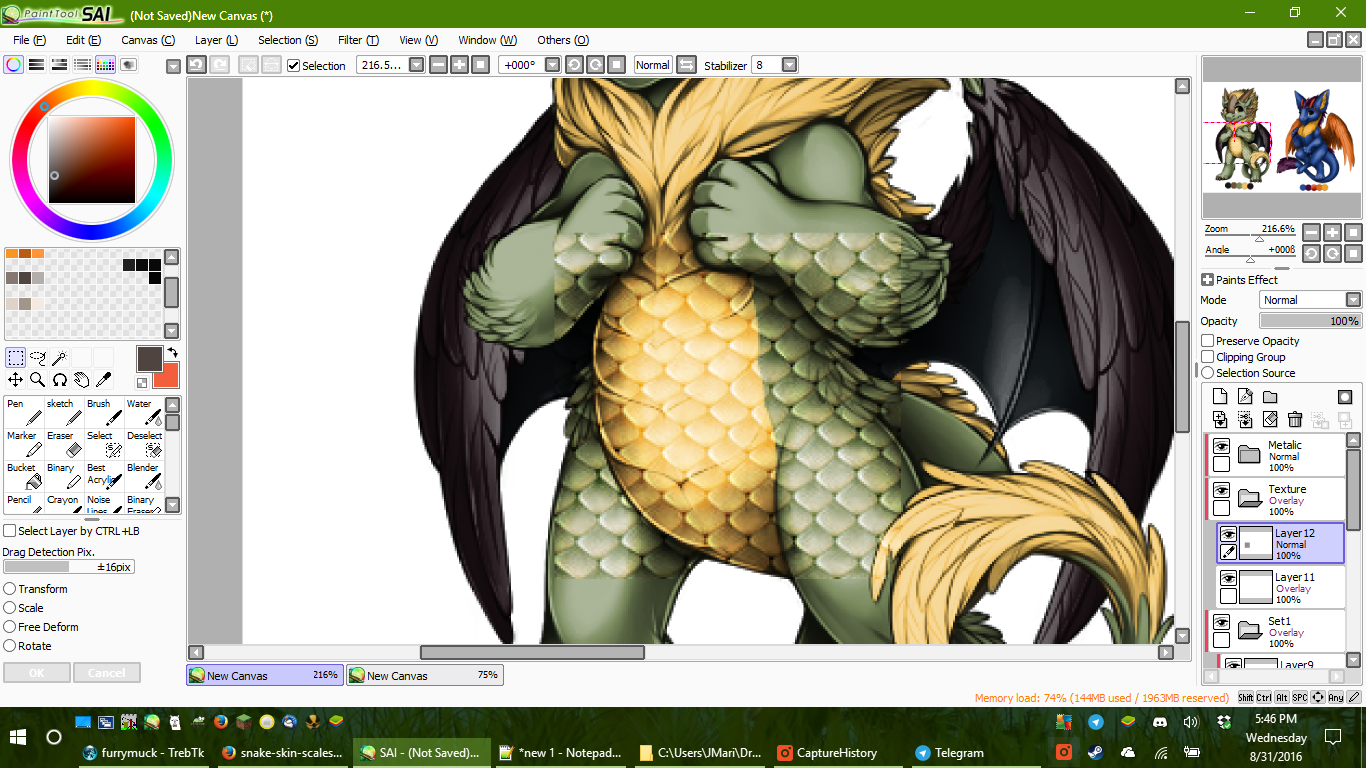
You can either draw a texture, or find one online that you like. I'm using one that I found of scales to make our dragon friends belly more scaly.
Either way, you want your texture to be in grey-scale, like the original base is. You can hide the color layer(s) and use those colors on your texture layer if that helps.
Step 3
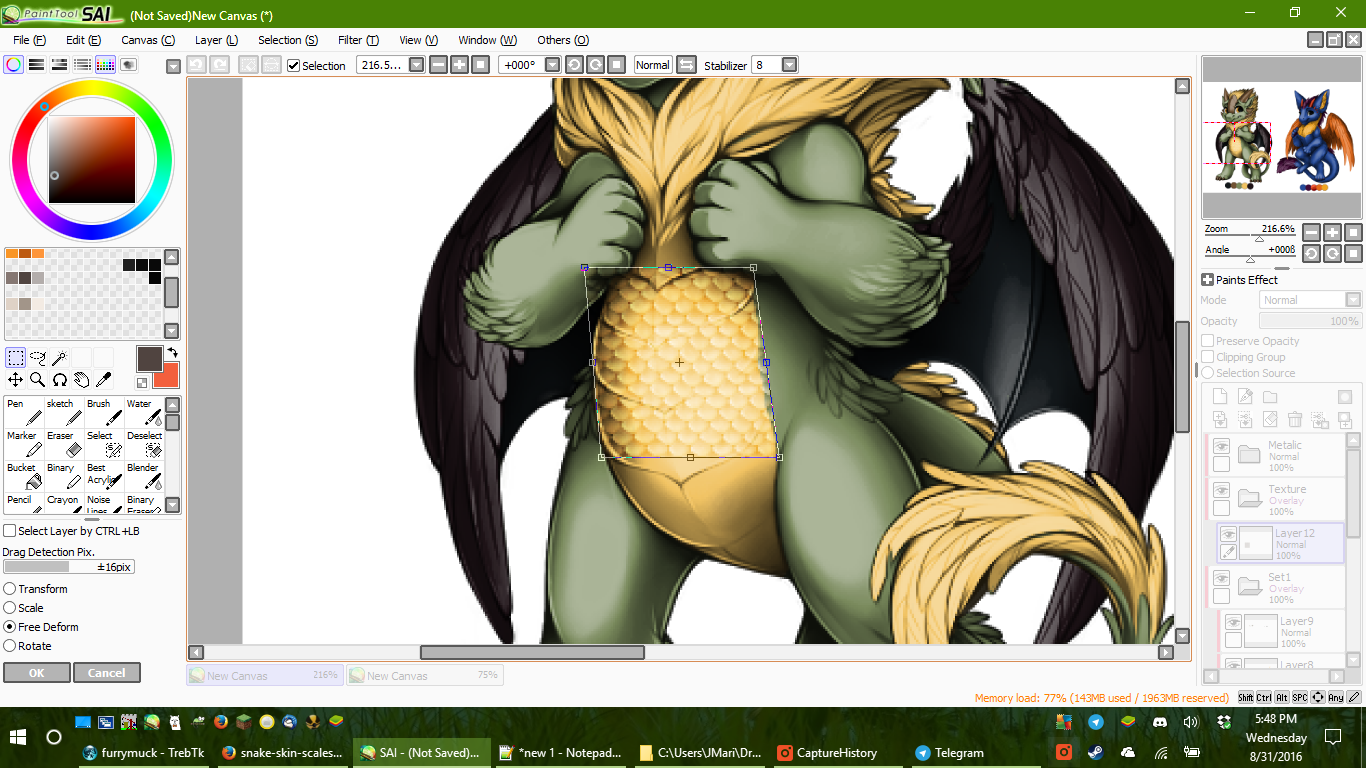
If you're using an image, you may need to scale, rotate, and/or distort the image to your liking. Generally pressing Control(Ctrl) and T at the same time will bring up that option on a Windows program. (Sorry, I'm not familiar with other OSes)
Step 4
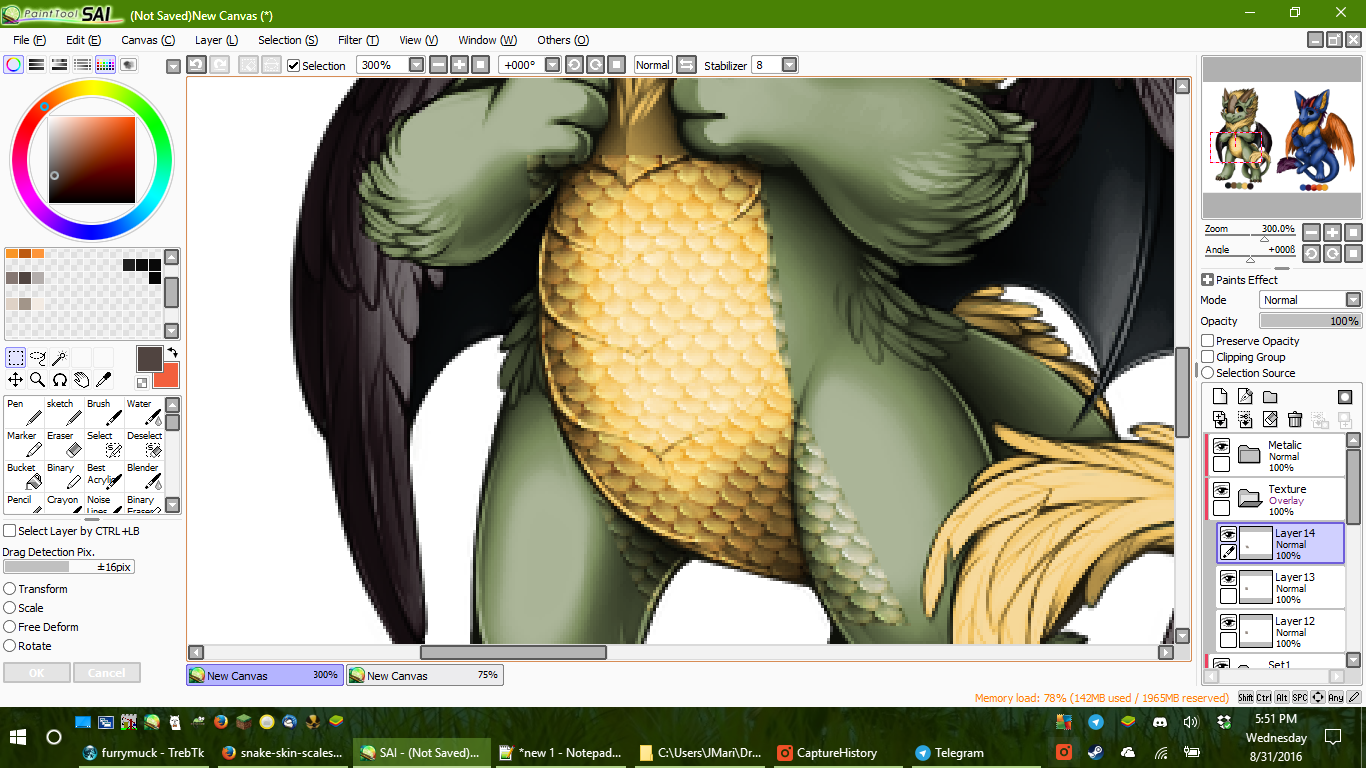
When your texture is complete, you can either select the area that you don't want the texture on and use Edit>cut, like above, or manually erase it if it's easier.To make the texture more subtle, lower the Opacity of the layer.
That's it!
Highlighting and Shading
Highlighting and Shading is a lot like the Metallic, only you will use greys instead of color. This is my favorite part of coloring, honestly.
Step 1
As Always, create a new Folder group, set to clipping. You will also need to select 3 dark and 3 light grey colors. This can be from the base, but I find these to be the best ones:
Dark
RGB 063 / 063 / 063
RGB 032 / 032 / 032
RGB 012 / 012 / 012
Light
RGB 238 / 238 / 238
RGB 210 / 210 / 210
RGB 184 / 184 / 184
For extremes on either end, Black and White are an option.
Step 2
Start with the Darkest light color first (184's) and start drawing over where the light hits. Feel free to emulate the base but also feel free to add your own. If it's hard to see, you can always turn the folder to 'Normal' to make it easier to draw the highlights in. Just switch it back to Overlay to see how it looks.
(Here's both versions)
Step 3
Select the Next lightest light color (210's) and draw in lighter areas. If you like, you can lock the layer so that you can only draw on the other highlight areas.
3bRepeat this with the Brightest color. If you have an area that needs even brighter highlight, repeat once more with White.

Step 4
On a new layer, repeat Step 3 in reverse with the dark colors, starting with the Lightest and going darker.

Step 5
Using the Blender, smooth the colors together and smooth the edges on both layers of shading.
Step 6 - Optional
Add an extra layer set to Overlay above the folder, on it's own. Using White, go over the highlights (or create your own) in the eyes. Lower the Opacity as desired (seen below)
That's It!
If you finished all of these, you now have a textured, metallic, highlighted, and shaded paintie!
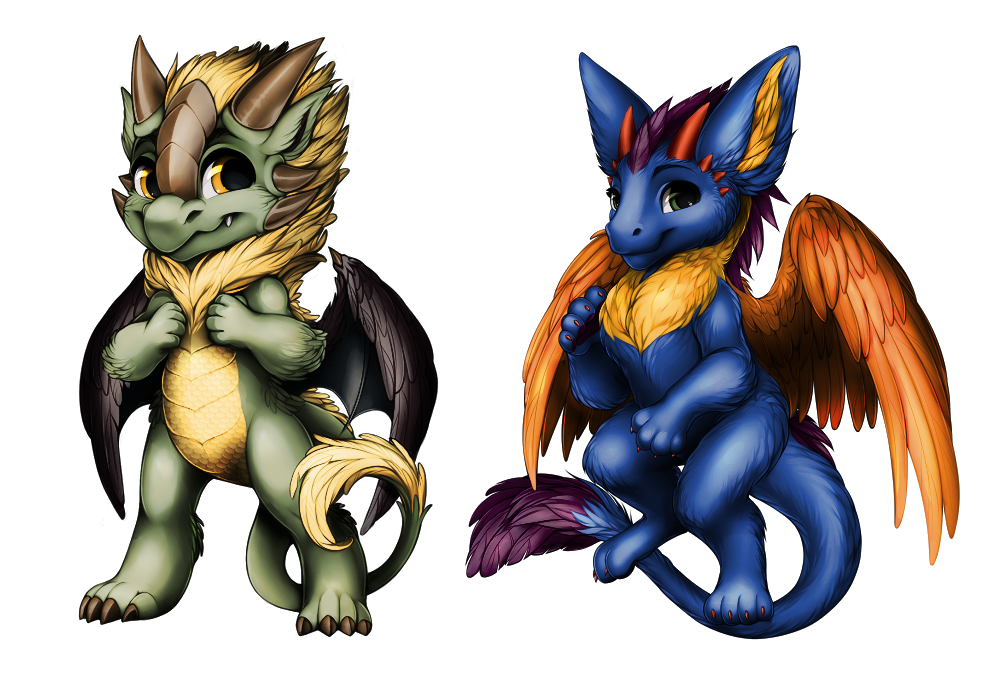
Click for full size

